
- Medium Consistency Icing (desired colors)
- Piping bags
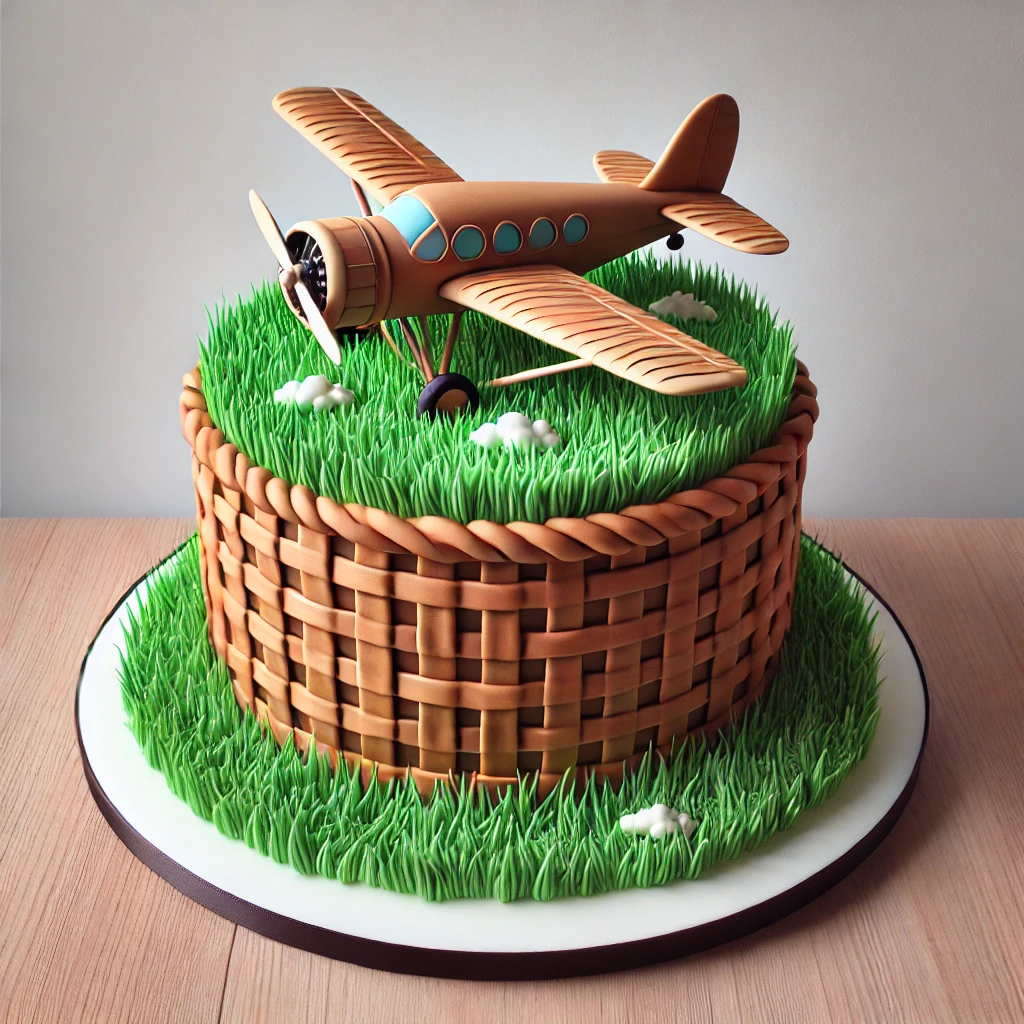
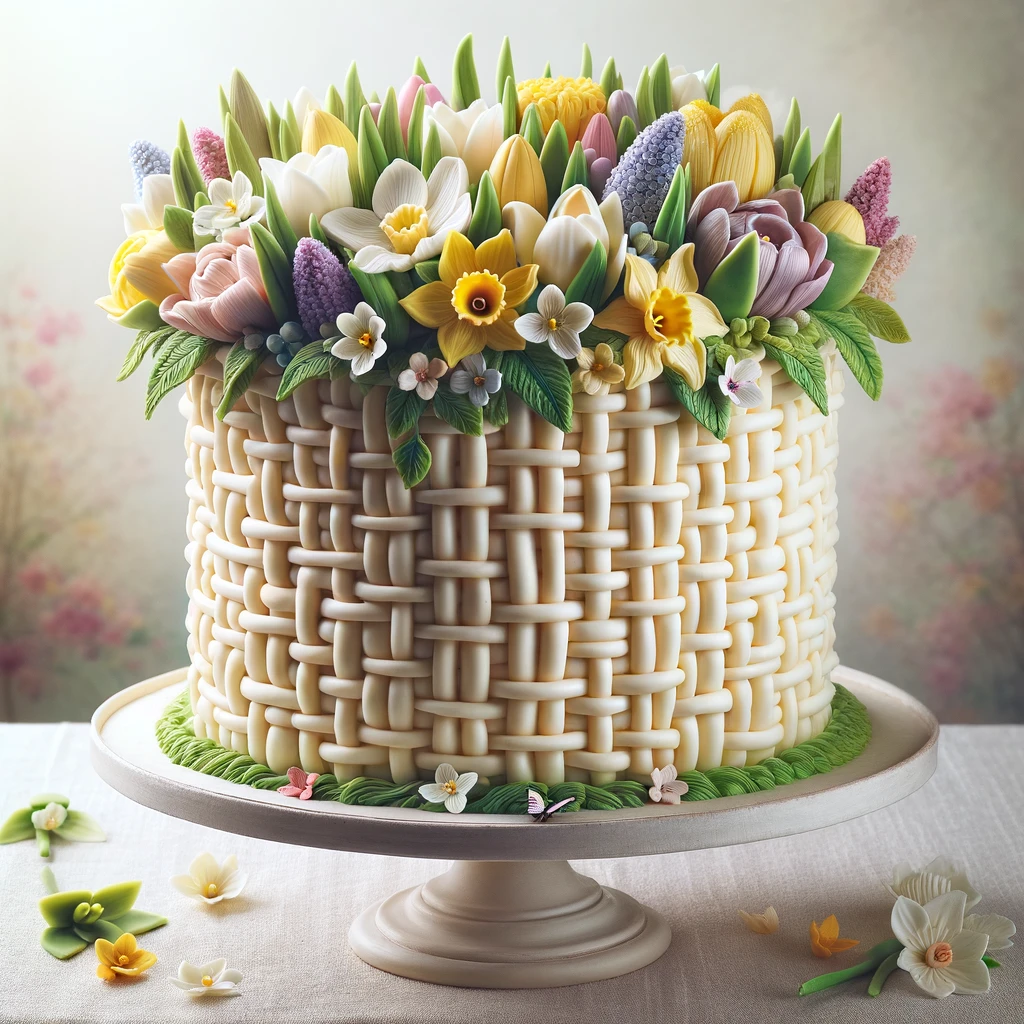
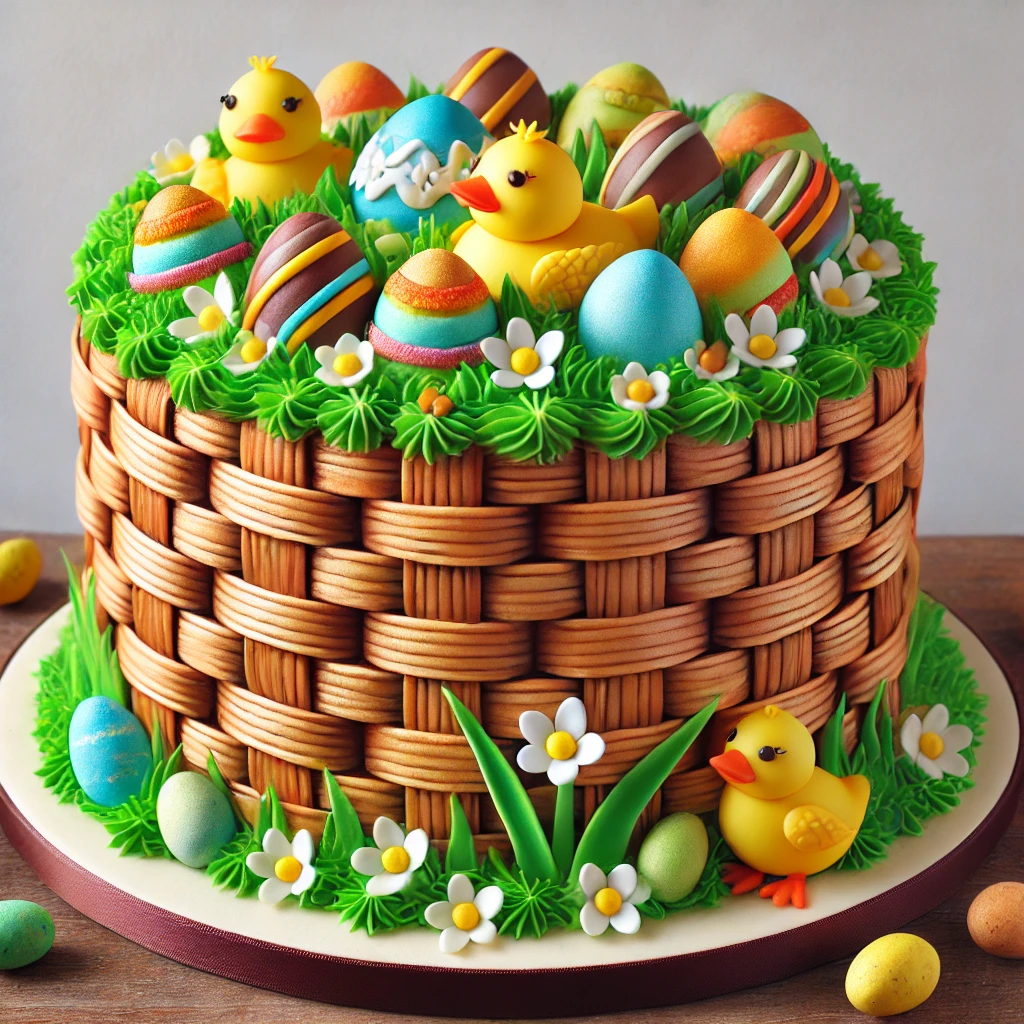
- Basket weave piping tip (#47)
- Cake turntable (optional, but helpful)
- Offset spatula
Instructions:
- Fit a decorating bag with a basketweave tip #47 and fill it halfway with medium consistency icing.
- Hold the decorating bag at a 45-degree angle at the 6:00 position, ensuring the tip lightly touches the surface of the iced cake with the serrated side facing of the piping tip up. Begin squeezing the bag, allowing the icing to adhere to the surface, and continue squeezing to form vertical column of icing from the top to the bottom of the cake. Once you reach the bottom of the cake, stop squeezing and pull the tip away.
- Adjust the bag to a 45-degree angle at the 3:00 position. Squeeze out short horizontal stripes of icing over the vertical line starting at the top. Ensure the spacing between horizontal stripes is equal to the width of the tip opening, and maintain uniform length for each stripe.
- Squeeze the next vertical line over the ends of the horizontal stripes. Begin the next set of horizontal stripes by burying the tip under the first (or previous) vertical line.
- Repeat the process of piping vertical lines followed by horizontal stripes, always starting with a single vertical line. Each new set of lines should fit seamlessly between the previous set. Continue until the entire area is covered with the basketweave pattern.
Top Tips:
- Position the cake at eye level on a turntable for ease and accuracy.
- You may want to experiment with different tips.
- When utilizing this technique, ensure the cake is lightly iced beforehand.
- Optionally, you can add a decorative border along the top and bottom edges of the cake using a different piping tip or color.
- Carefully clean any smudges or excess icing from the cake board or plate.
- Allow the cake to sit for a little while to let the icing firm up before serving or transporting.
- Adjust the pressure on your piping bag and the spacing of your lines to achieve the desired look.